

DIY Concrete Patio: A Step-by-Step Guide for Early Summer Projects
April 30, 2025
Building a concrete patio doesn’t need to feel like a complex home improvement project that’s reserved only for seasoned professionals. With appropriate planning and a straightforward approach, crafting a welcoming space is achievable, even for those that are brand new to concrete work. The payoff is a patio that upgrades the backyard from a useful space to an inviting hub for seasonal entertaining.
First Things First: Picking the Spot
Choosing the right location sets the stage for everything else. The spot should naturally complement how people use their outdoor spaces. Ideally, it’s close to doors for easy access and integrates comfortably with existing landscaping elements.
Scope matters, but bigger isn’t always better with concrete. Sometimes a modest, thoughtfully planned patio does more for comfort and style than sprawling concrete areas. It pays off to visualize future furniture arrangements and walking paths before committing to a final layout. A quick sketch and some measurements usually save future headaches.
Materials and Tools Without Complication
The most effective way to ensure a smooth DIY project is to begin with the right preparation. There is no specialized equipment needed. A shovel, a rake, a trowel, and potentially a wheelbarrow, should cover the basics. For the concrete work itself, tools like a screed and tamper are ideal, but neither is overly complicated. With some initial research, the process should be straightforward once the work begins.
For materials, ready-mix concrete simplifies things considerably. It removes guesswork, meaning less chance of mixing challenges and mistakes. It all begins with gravel, which is great for the base, wooden forms that contain the pour, and basic reinforcing mesh for stability. Keeping this segment simple reduces unnecessary complexity, turning what could feel overwhelming into a clearly defined weekend project.
Groundwork Made Easy
Patios are heavily reliant on the foundations that they’re built on. Clearing away grass, weeds, and about six inches of topsoil will require some manual labor, but it’s critical for lasting results. Starting with a flat surface makes every subsequent step smoother, both literally and figuratively.
Once cleared, spreading an even layer of gravel provides the stability concrete needs. Using a simple tamper ensures a compact base. Setting wooden forms around the patio edges keeps the concrete contained, guiding the shape, depth, and final appearance. Checking levels frequently during this stage prevents unwanted surprises.
Concrete Pouring Simplified
The idea of pouring concrete might seem stressful, careful and steady progress will eliminate most challenges. Mixing smaller batches of concrete rather than one overwhelming load makes consistency easier to manage as well. Pour each batch into the forms, working methodically to spread the concrete evenly across the prepared area.
Immediately after pouring, use a straight-edged board to smooth and level the concrete surface, sliding it along the forms to remove excess material. Smoothing carefully ensures water runoff flows correctly once finished. After leveling, give the concrete a cleaner look with a finishing trowel. A quick broom stroke across the wet concrete gives the patio traction, essential for outdoor safety after rain or dew.
Adequate Curing Time
This is the stage where patience pays off. Concrete needs time to cure properly, so if it’s rushed, future issues are more assured. Covering the freshly poured surface with plastic helps retain moisture, which protects against early cracking and uneven drying. After about two days, the forms can usually come off. Give it closer to a week and it’ll be appropriate to begin introducing foot traffic. During this period, protecting it from heavy furniture or sharp impacts prevents surface imperfections and ensures durability. At full strength, concrete curing takes up to a month.
Finishing Touches That Matter
Concrete can be both dynamic and visually appealing. Once completely cured, adding color or texture elevates the patio’s style instantly. Concrete stains or sealers, widely available in various shades, easily match existing home aesthetics. Even subtle textures created by stamping or stencil patterns dramatically upgrade the appearance without significant added cost or effort. However, stamping does rely on concrete that’s still wet enough to allow an imprint, so keep that in mind during the planning phase.
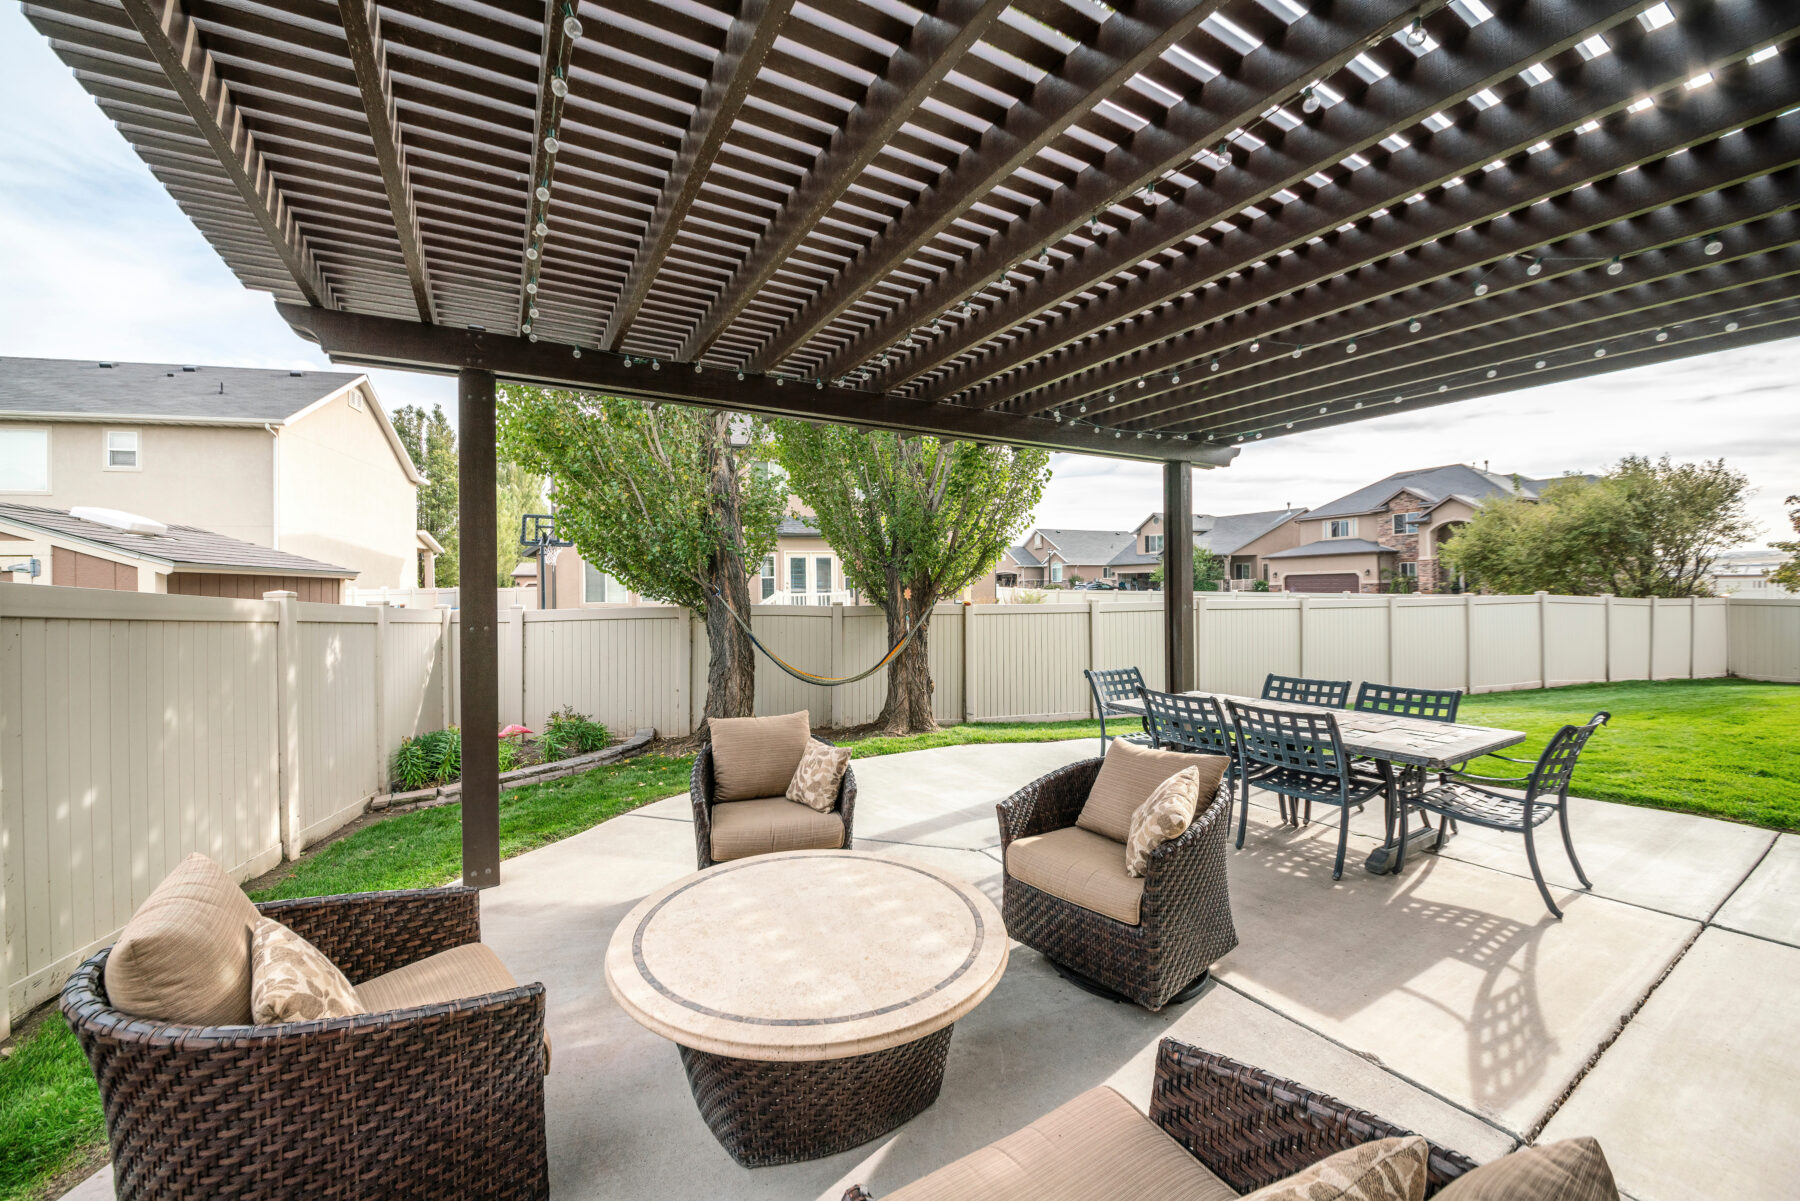
The space can be further enhanced with simple landscaping touches like plants, decorative stones, or comfortable seating arrangements, which make the space inviting.
A DIY concrete patio project has the potential to transform more than the backyard; it redefines how outdoor spaces are enjoyed. When the planning is clear and each step gets the attention it needs, the project shifts. It’s no longer just about pouring concrete, it becomes about shaping a space with purpose. The finished patio delivers exactly what it should: a durable, attractive surface that fits right into the rhythm of summer.